Workspaces#
Creating a Workspace#
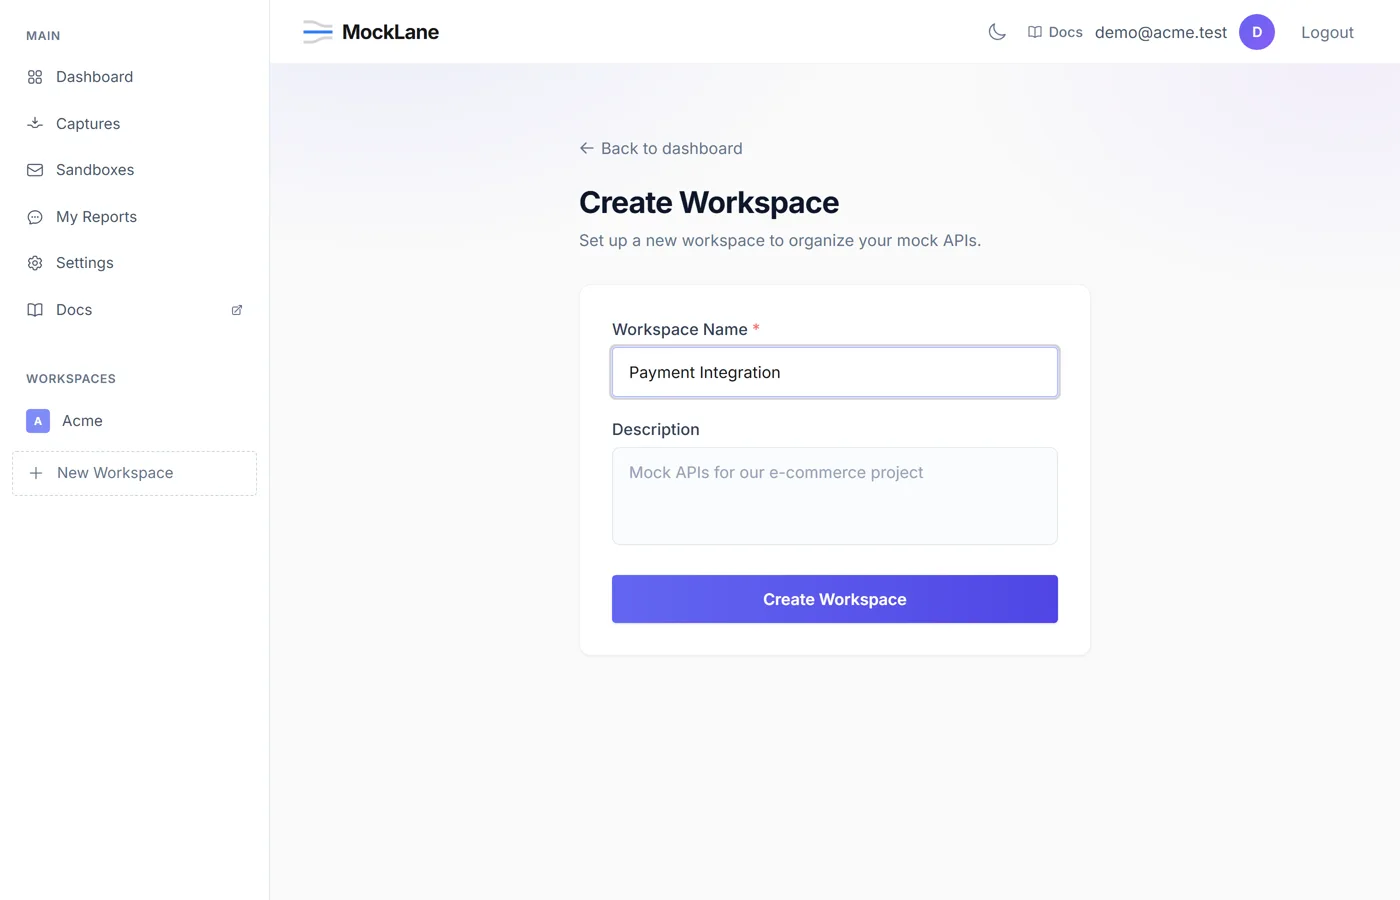
Workspaces organize mock endpoints and team members into separate projects.
- 1Click New Workspace in the left sidebar.
- 2Enter a name (e.g., "Payment Integration", "Mobile App API").
- 3Click Create Workspace.
Workspace Settings#
Navigate to your workspace → Settings tab to:
- Rename the workspace.
- Toggle public / private visibility.
- Generate or regenerate the API key.
- Delete the workspace (irreversible).
Inviting Team Members#
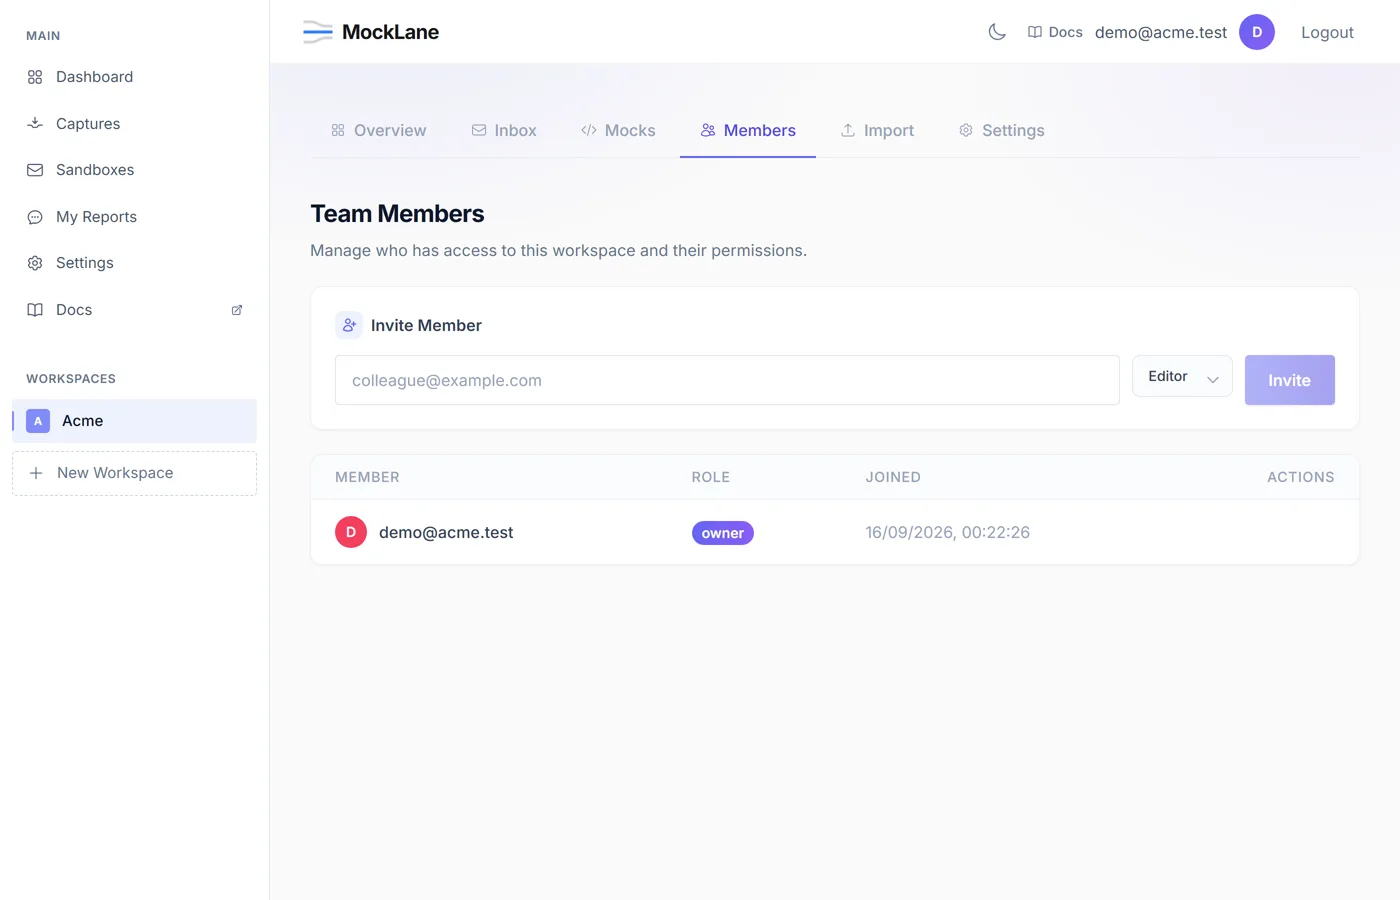
- 1Go to your workspace → Members tab.
- 2Enter the email of the person you want to invite.
- 3Select their role:
viewer,editor, oradmin. - 4Click Invite. They'll receive an email with a link to join.
What can each workspace role do?#
| Role | View | Create/Edit | Delete | Manage Members |
|---|---|---|---|---|
| Viewer | ||||
| Editor | ||||
| Admin |
Should a workspace be public or private?#
By default, workspaces are public — anyone with the mock URL can call the endpoints. This is ideal for quick prototyping.
Private workspaces require an API key in every request. Toggle this in Workspace Settings.
bash·Private workspace request
curl -H "X-API-Key: your-workspace-api-key" \
  https://mocklane.com/m/abc-xyz/api/users
API Keys#
When you make a workspace private, an API key is automatically generated. Pass it via the X-API-Key header or ?api_key= query parameter.
Regenerating an API key immediately invalidates the old one. Update all consumers before regenerating.
MockLane © 2026 · Built for developers
Go to Dashboard